

For those considering home insulation in Rockhampton, it’s important to understand the common pitfalls of DIY projects and how they can impact comfort.
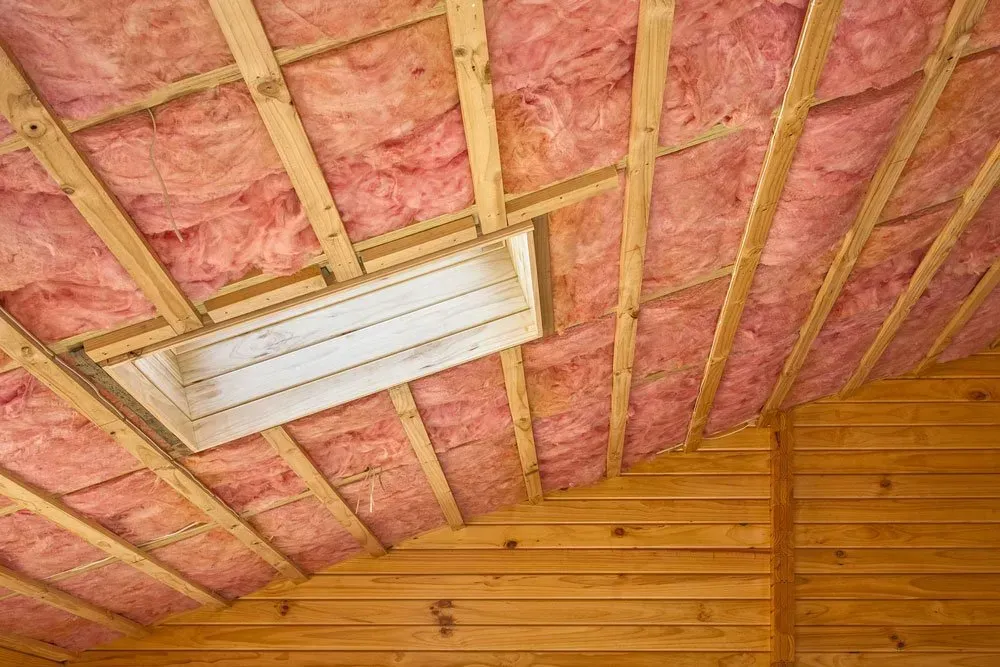
Understanding the differences between wall insulation and ceiling insulation is key if you want to create a comfortable home or business in Rockhampton.

Explore eight reasons why investing in quality building materials is a smart move for every project, from project managers & contractors to owner-builders.
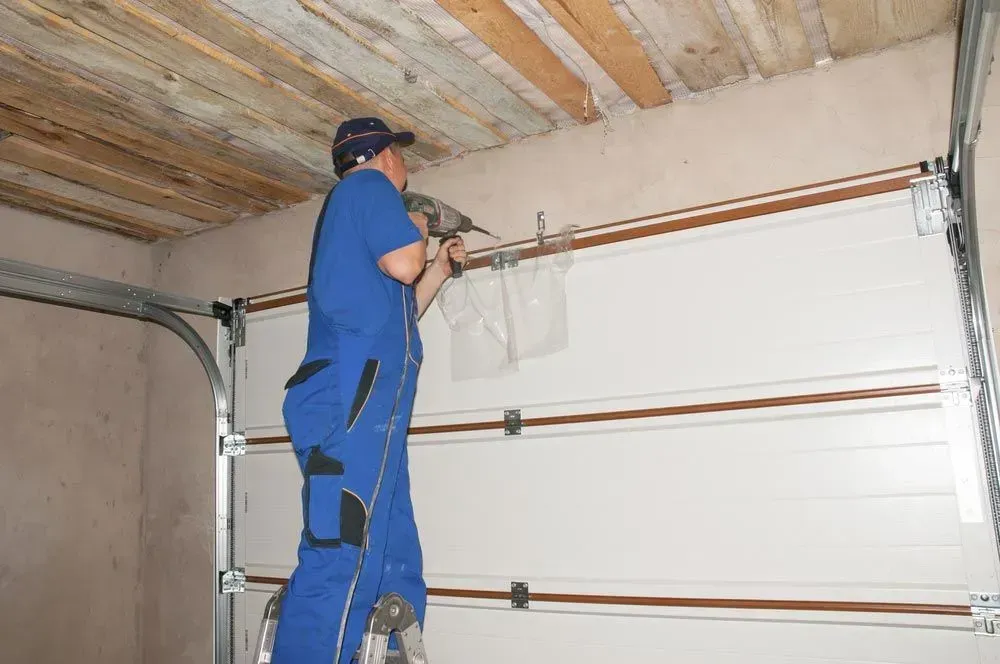
Discover why garage door insulation matters more than you think. Find a trusted insulation supplier for commercial insulation in Rockhampton.

Compare top insulation supplies in Rockhampton. Learn how to choose the right insulation supplier for your needs. Read the full guide today.
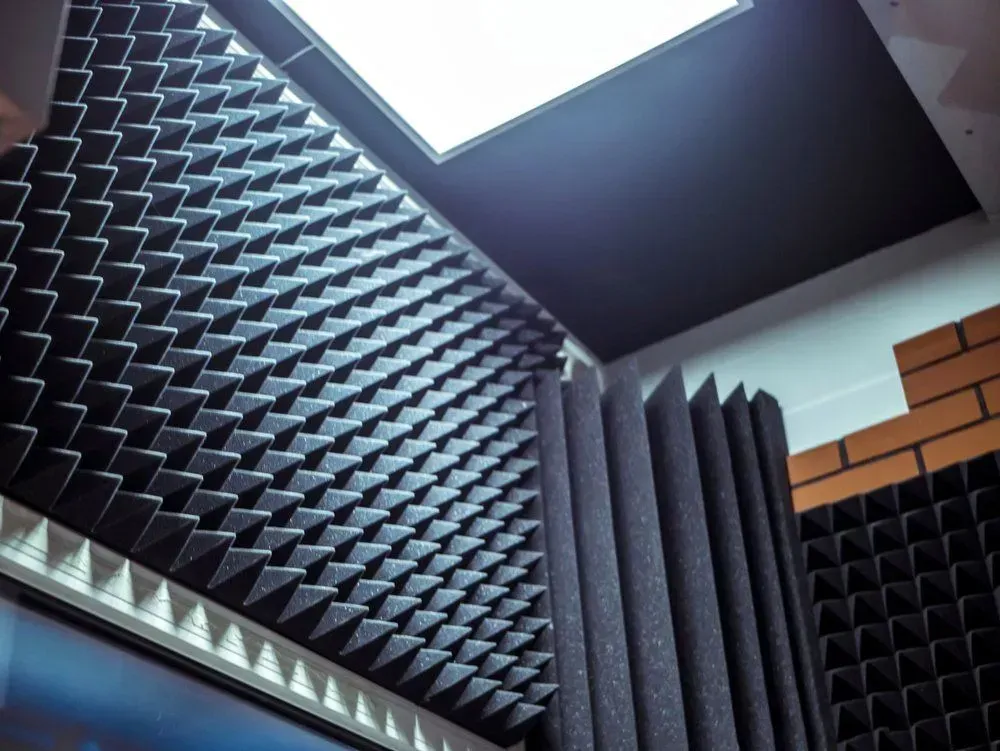
Discover the benefits of acoustic insulation in open-plan offices. Improve productivity, privacy, and comfort. Read more!
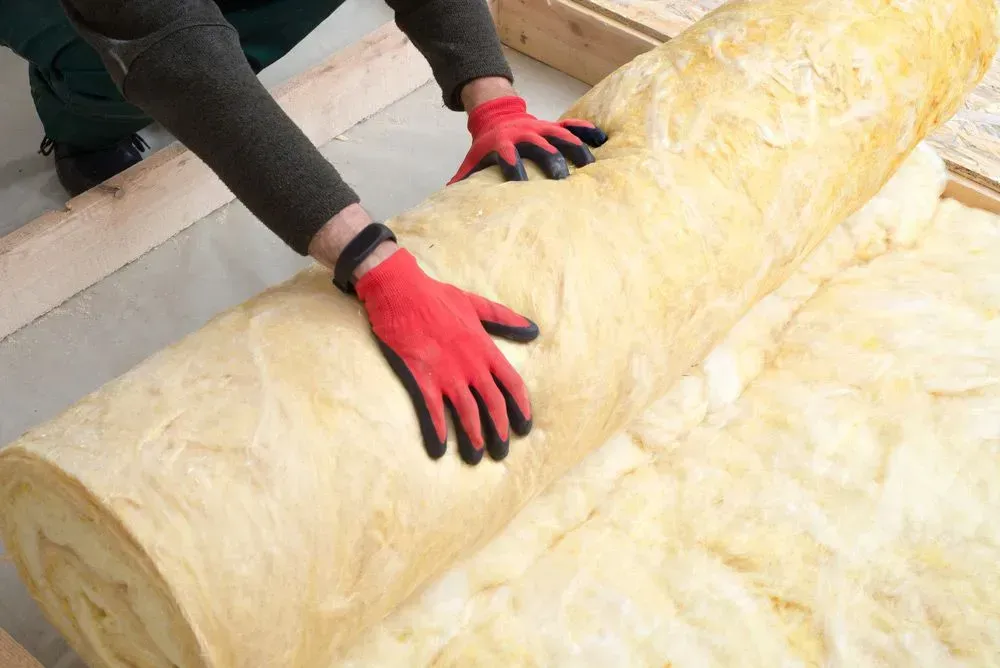
Prevent moisture problems in commercial insulation with effective solutions. Learn how to protect your building and boost energy efficiency.
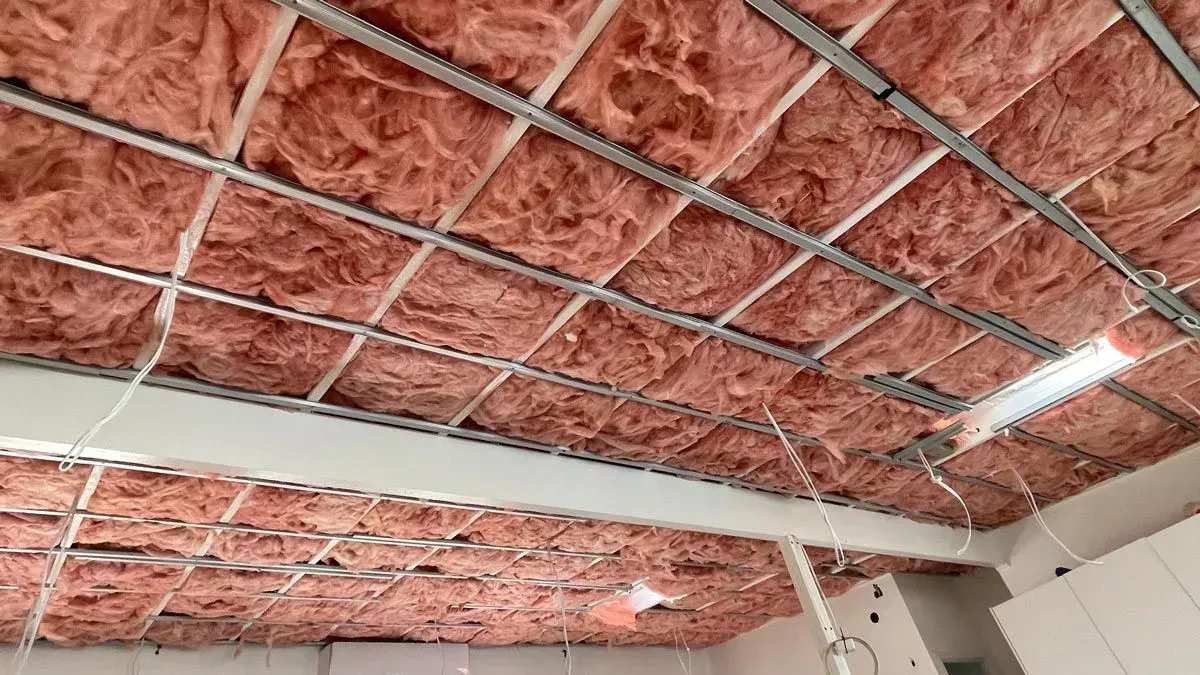
Ensure maximum energy efficiency with proper home insulation in Rockhampton. Learn why expert installation is key to optimising insulation benefits.

Avoid costly errors when buying construction materials! Learn the most common mistakes & how to avoid them. Read our guide for smarter, safer decisions.

Discover construction supplies that will transform your next project. Visit our hardware store in Rockhampton for expert advice and quality materials.


